Tuesday, March 10, 2015

Create > Extreme Angles Album

Create > Extreme Angles Album


Goal: Make 10 images of everyday things and people from unusual vantage points.


Studio Activity:
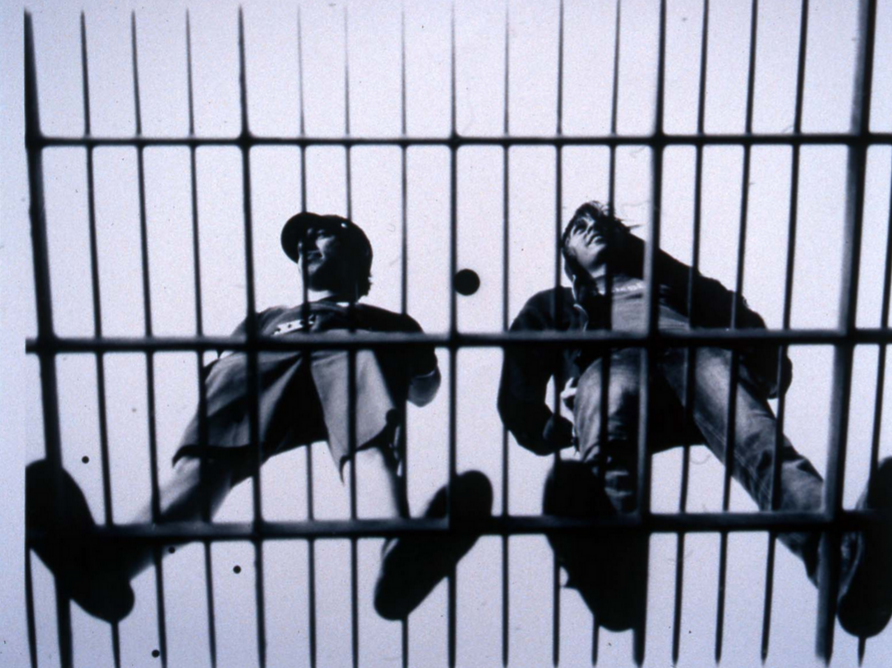
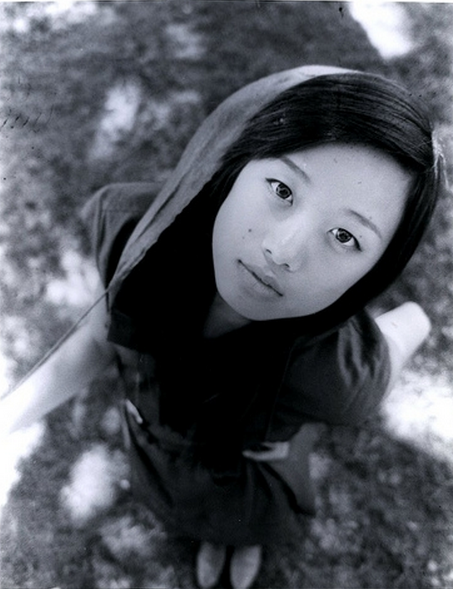
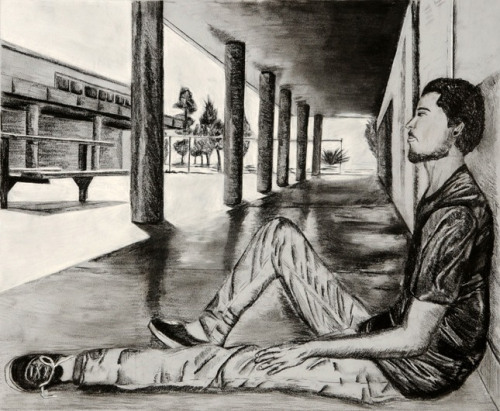
Emphasize extreme vantage points by getting into extreme locations and positions.  Get on the ground and take a shot from a worm’s eye view.  Get up on a ladder or balcony and shoot down from a bird’s eye view.  Understand that shooting subject matter from extreme angles produces distorted forms and foreshortened perspectives.  Look at the visual examples and notice the foreshortening (a large head (because its closer) and smaller legs diminishing away) or just the opposite when the photograph is taken below (large feet with the body diminishing away).


Trigger Mechanisms:  Point of View, Extreme, Exaggeration


Visual Examples:
Alexander Rodchenko > http://goo.gl/51FmGb


Create > Block Patterns Self Portrait

Create > Block Patterns Self Portrait

e5a6377697cfb256eb1df592e7393f1d.jpg


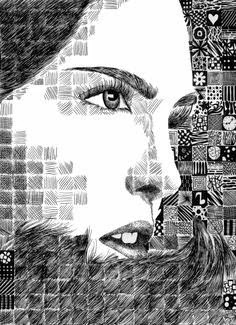
Goal:  Break down a photographic image into geometric value/color patterns


Studio Activity:
Take a black and white photograph of yourself.  Tape tracing paper marked in a 1/4” grid over the image.  Study each segment of the photo carefully through transparent paper.  In pencil, render each square with a solid gray tone that represents the average tonality of that square.  Continue rendering all the component squares until the composition is complete.  

*As an alternative, put your digital self-portrait into Pixlr Editor > http://apps.pixlr.com/editor/ or Sumo.fm > http://sumo.fm/#create go to > Filter > Pixelate and adjust accordingly.  Print out the pixilated image as well as the original.  Work the image as a matrix filling in the individual squares with patterns or solid values that equal the tonality of the pixilated image.


Trigger Mechanisms:  
Value, Reduce, Abstract, Texture
Visual examples > http://goo.gl/lKlIFu


Materials:

Drawing paper, collage elements, colored pencils, ebony pencils, etc...


Monday, March 9, 2015

Create > Design from Industrial Systems

Create > Design from Industrial Systems

6117425056_3e6ef63d68_z.jpg


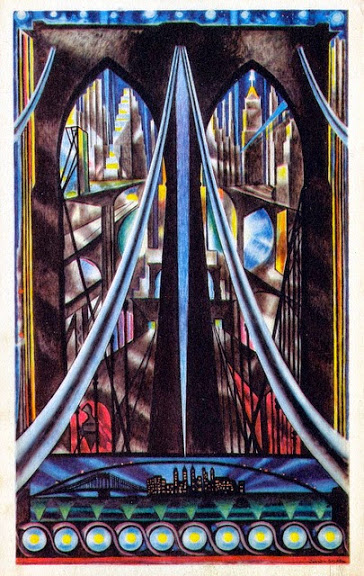
Goal: Create an artwork using an industrial system or structure as a creative stimulus.

Studio Activity:
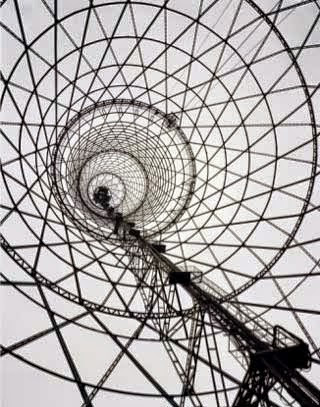
Organize a photo walk to collect images of unusual industrial structures.  Photograph such things as communication towers, construction rigs, plumbing, heating and electrical systems, mechanical devices, machines, etc…  

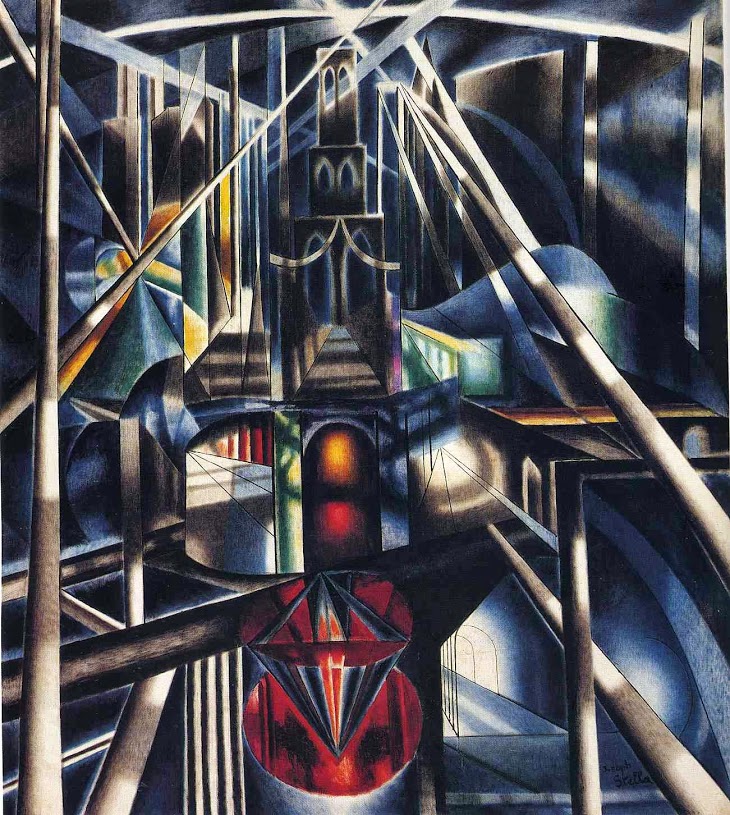
Select one of the images as a stimulus to produce an art form.  Analyze the subject, paying particular attention to the parts, configurations and connecting factors.  Make some preliminary drawings based on your analysis.  Simplify and abstract the components as you desire, and rearrange them to produce a new integration, one that does not look like the original subject, but in some way maintains the spirit of its system or structure.  Render this work in either 2D or 3D.  

Trigger Mechanisms:
Analogy, simplify, substitute, transfer
Visual examples - Stella > http://goo.gl/GxWJuM
Visual examples - Feininger > http://goo.gl/HHfiI

Materials:

Paper, pencil, paint, found objects, wire etc...

brooklyn-bridge.jpg


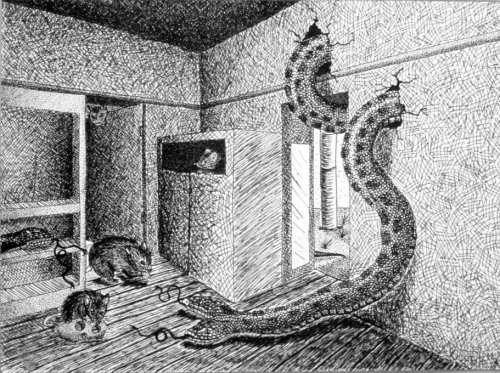
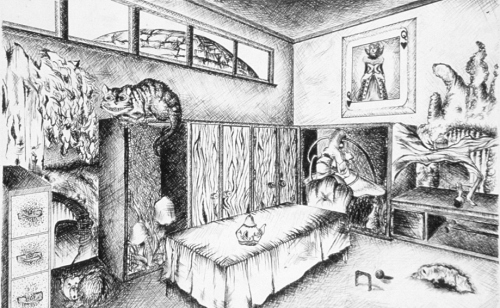
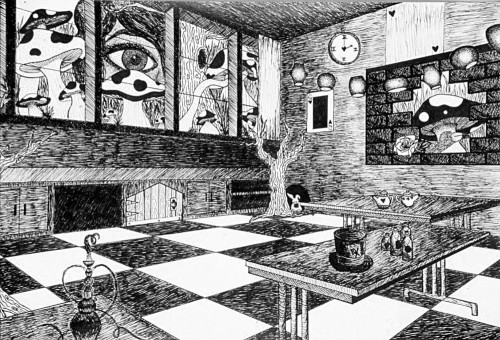
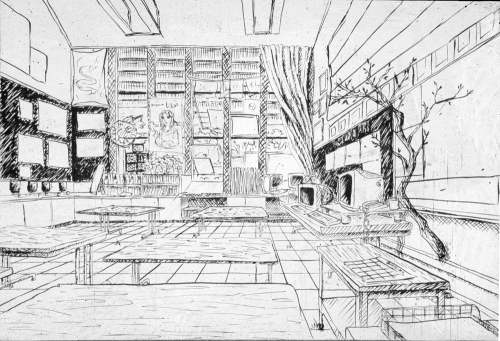
Create > Surreal Interior in perspective

Create > Surreal Interior in perspective

Rv05

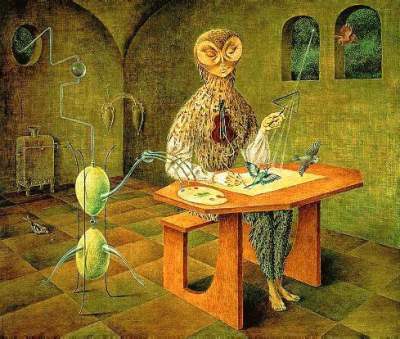
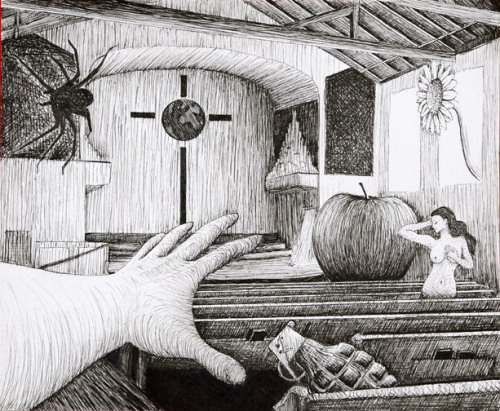
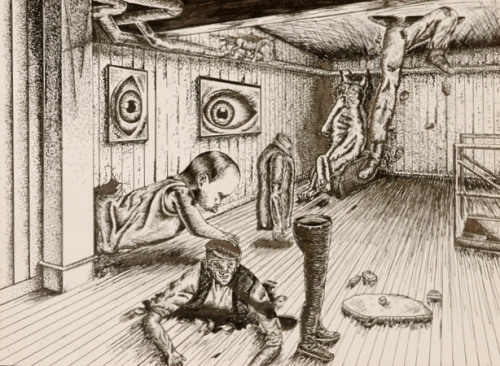
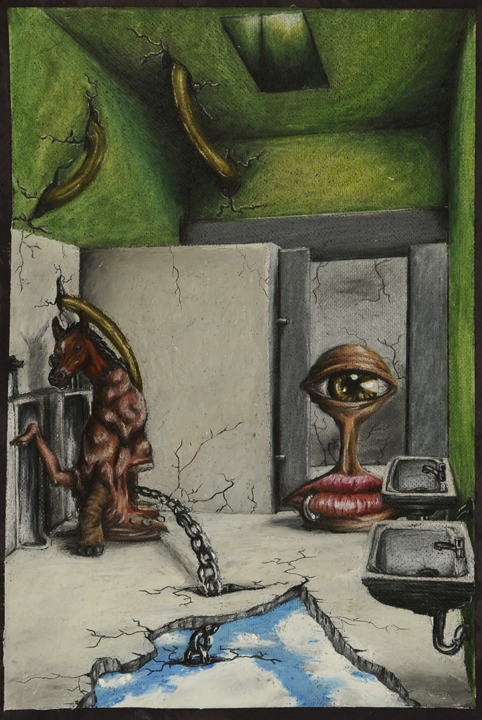
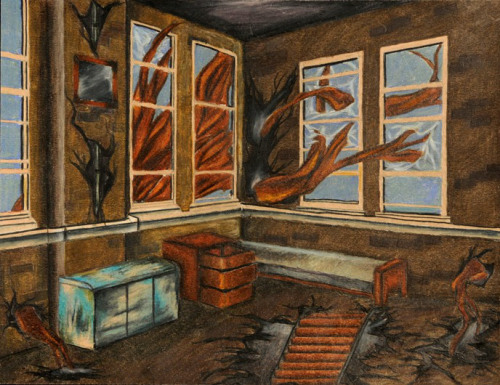
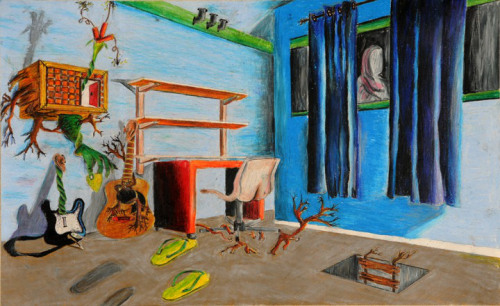
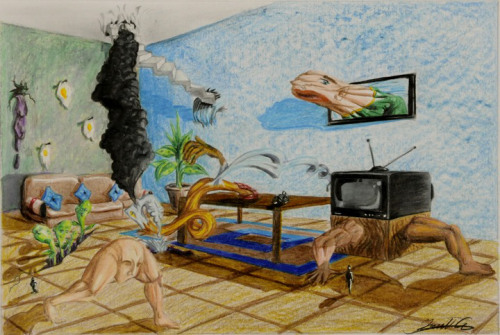
Goal: Create a fantasy interior space using linear perspective and surrealist influences.

Studio Activity:

  • Emphasize the imaginative powers of the subconscious.
  • Show a strange and unreal-like imagery in the collage.
  • Create a perspective drawing in pen & ink based on your collage.
  • Use a variety of ink shading techniques.
  • Use compositional principles like balance, center of interest, and harmony.

  1. Take a photo of the space you’ve chosen to depict and print it in black and white.
  2. Find the vanishing point(s) by lining up rulers with the lines in the room. Draw a few of these lines directly on your print in red pen.
  3. Fantasize your space to trigger surreal, preposterous, outrageous, bizarre thoughts.  
    • Topple mental and sensory expectations.  
    • How far out can you extend your imagination?
  4. Think:  “What-if” thoughts: What if automobiles were made of brick?  What if alligators played pool?  What if insects grew larger than humans?  What if night and day occurred simultaneously?
  5. Quickly create a collage by gluing images found in magazines, online etc. to create a fantasy environment inside your room. *You will use this collage to make a drawing, the collage will NOT go in your portfolio, it’s just a guide for your drawing.
  6. Use the collage to create a drawing. Sketch in pencil first, starting with the vanishing points and major parts of the room. Then add shading using various pen & ink techniques.  *Remember, you CANNOT just print out one picture from the internet and copy it. YOU should take the photo yourself, or use a collage that combines several different photos.

Trigger Mechanisms:  Fantasy, Space, Surrealism, Dreams

Visual Examples:
The old masters:
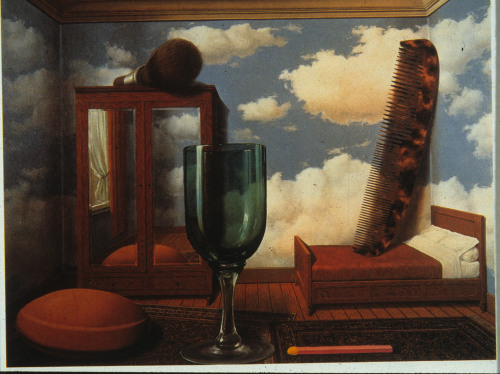
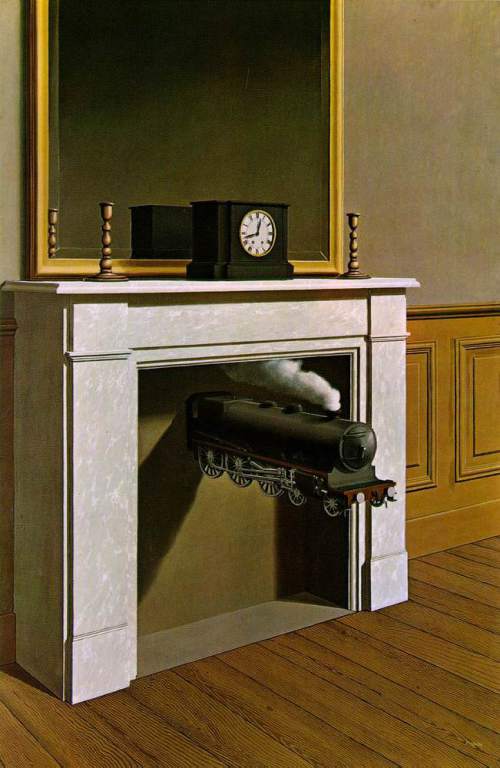
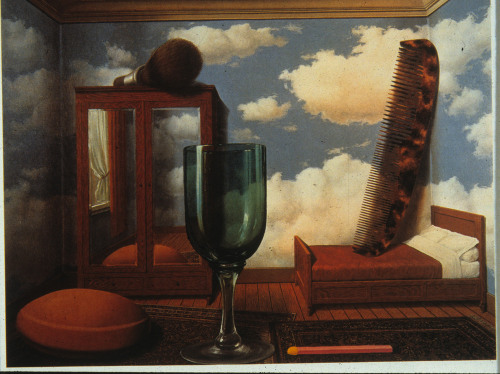
Rene Magritte > http://www.magritte.be/
New masters:

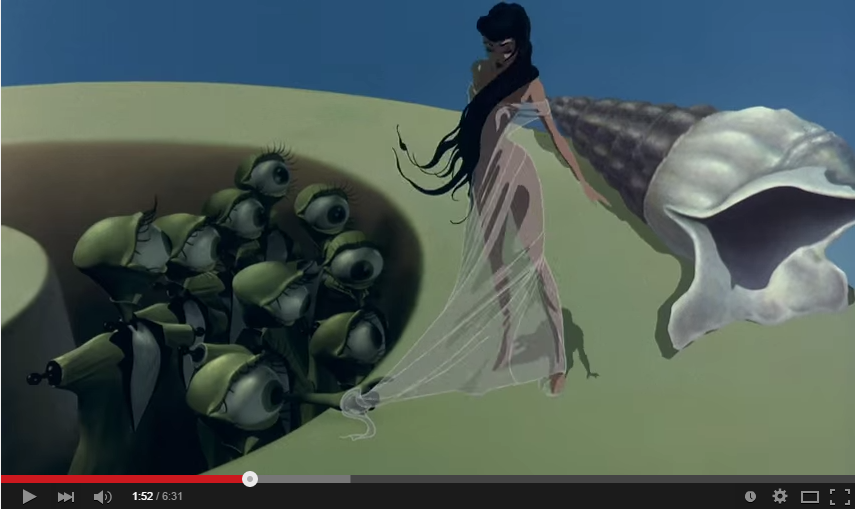
Watch > Destino (Dali & Disney) > https://www.youtube.com/watch?v=1dIznsAdTOE
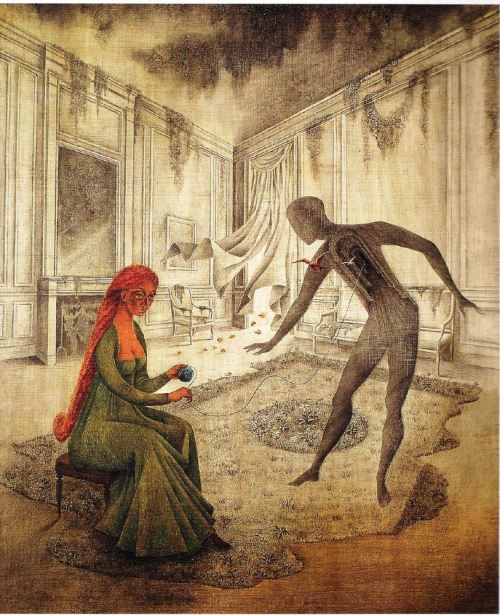
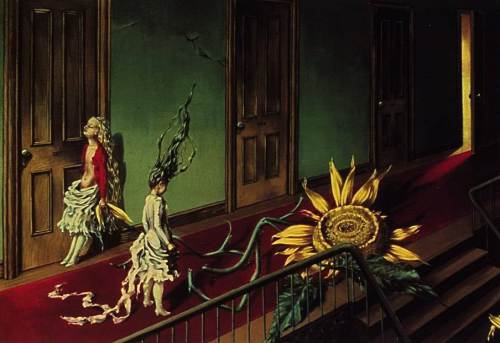
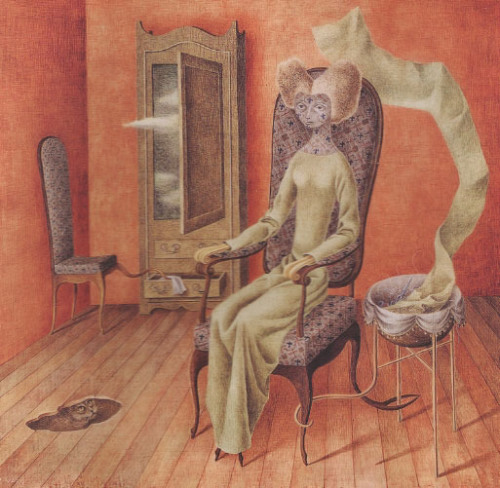
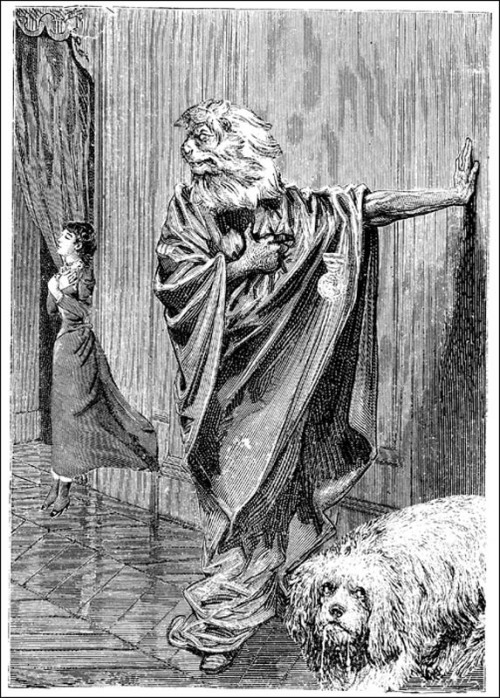
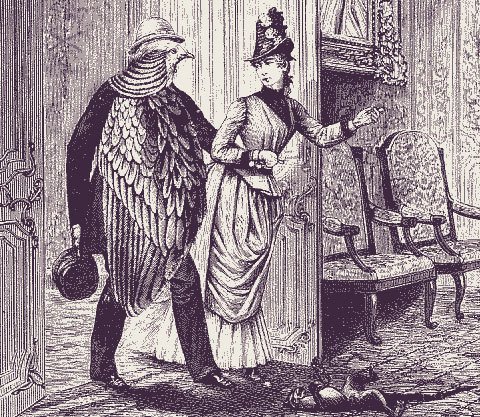
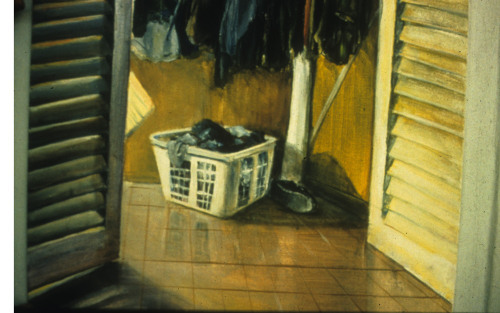
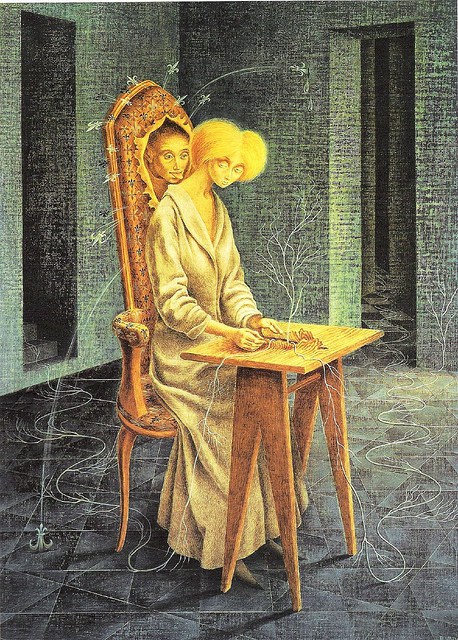
Examples of interior spaces and rooms by master surrealist artists.415773419_bfee0bb073_z415772248_00466e1b93_oIp39_copyTanningMimetismonitashadeogunTumblr_l4c4mce5qd1qa4s0qo1_500Time

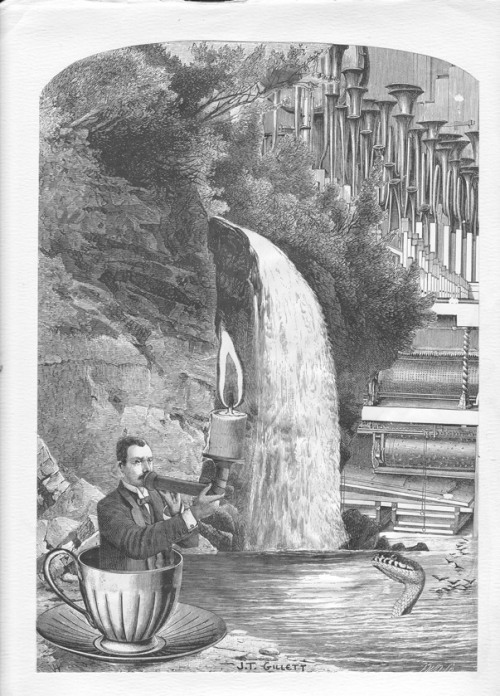
Examples of surrealist collages of interior spaces:
20090208_mudSmallbalancing-timeAweekofkindnessTumblr_kwo0tpbi3y1qzvd8go1_400

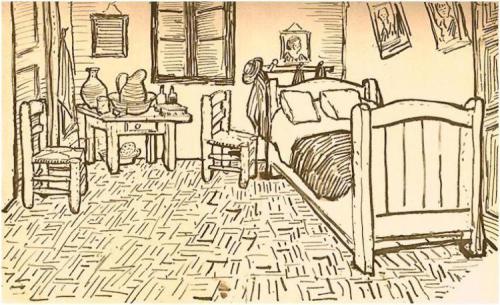
Examples that use hatching, cross-hatching, etc to create shading and a sense of depth.

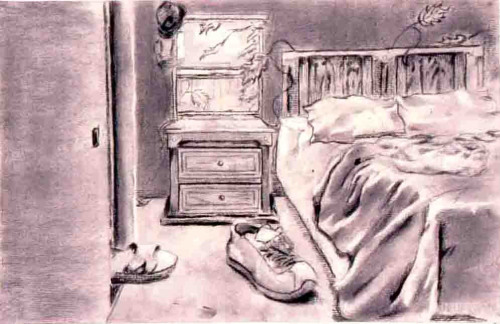
Ink-drawing-of-the-bedroom-in-arles-1888

Student examples
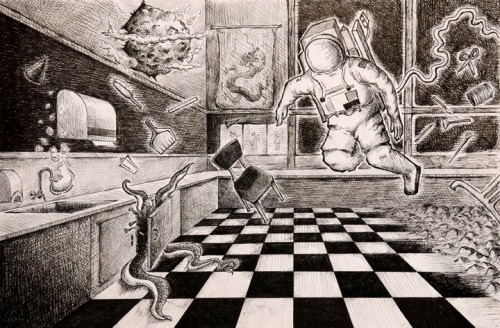
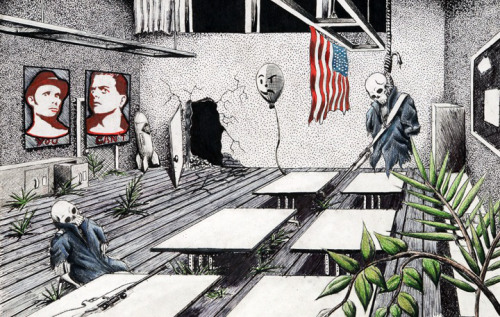
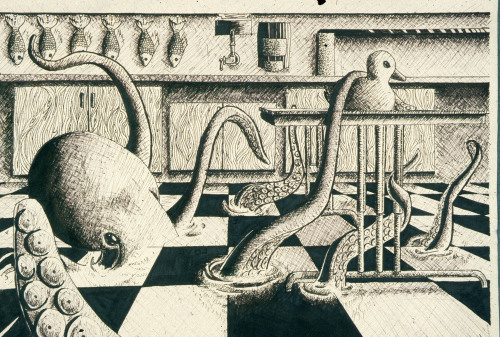
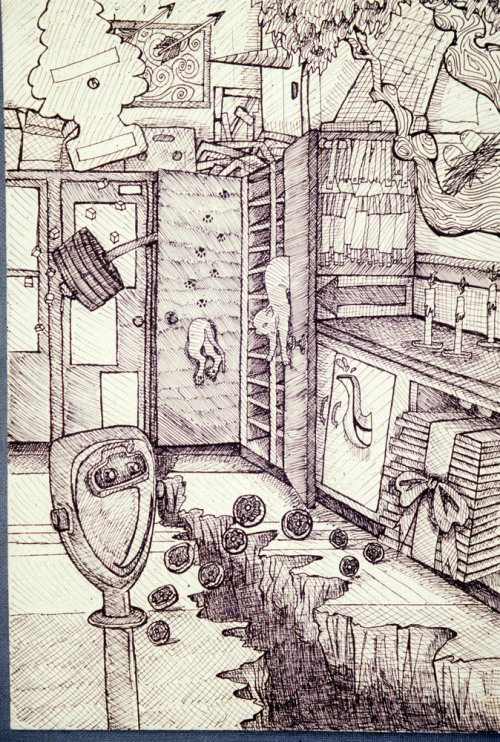
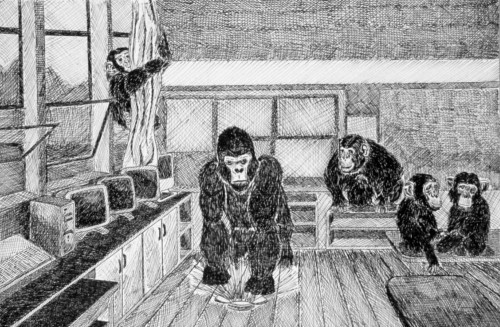
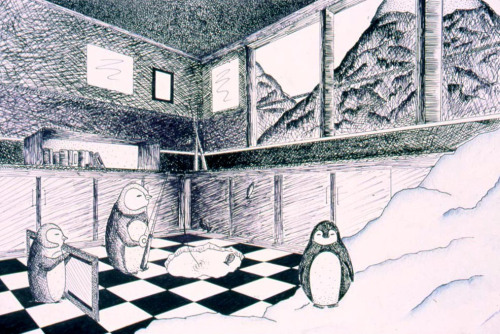
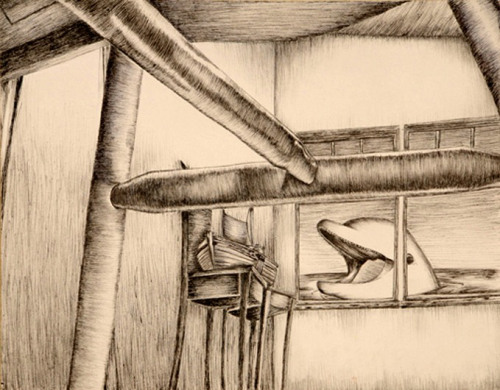
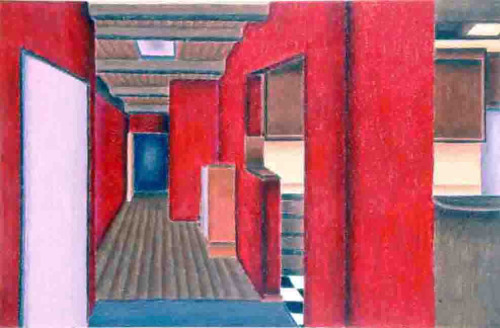
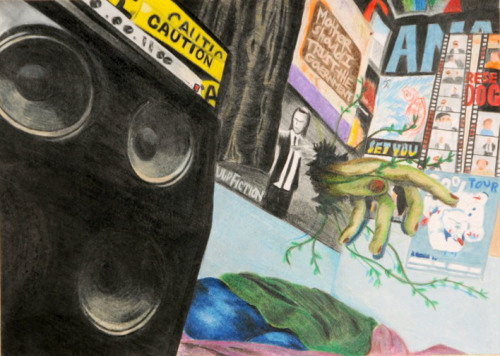
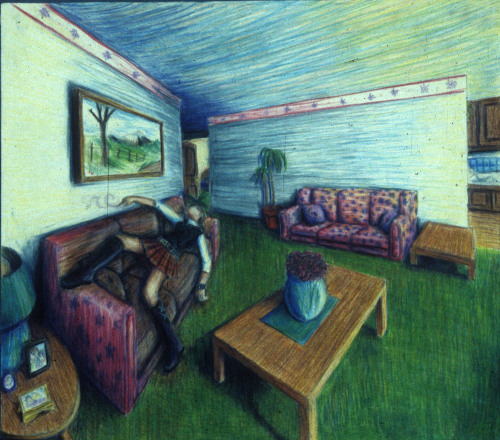
B-surreal_churchB-christian_surrealinteriorB-astronautxB_classroomKayleneDestiny_classroomSusana002Jackie02Brittney06Gail_classroomHai01Kim002B-contourderpdolphin

Vanessa07Brittney07Hai12B-hallway_w_ross
These AP student examples are in color and are completely random. Many of these are the surreal bedroom homework assignment.
B-jankleysurreal_green_bathroomB-perspectivewharehouseB-multiple_beccasLorraine010Ip73B-roomJennifer11B-surrealinteriorB-rossinteriorIp57B-surrealinteriorIp66Ip85Ip93Ip98B-jankleysurreal_room
HOW TO DRAW A ROOM IN PERSPECTIVE:
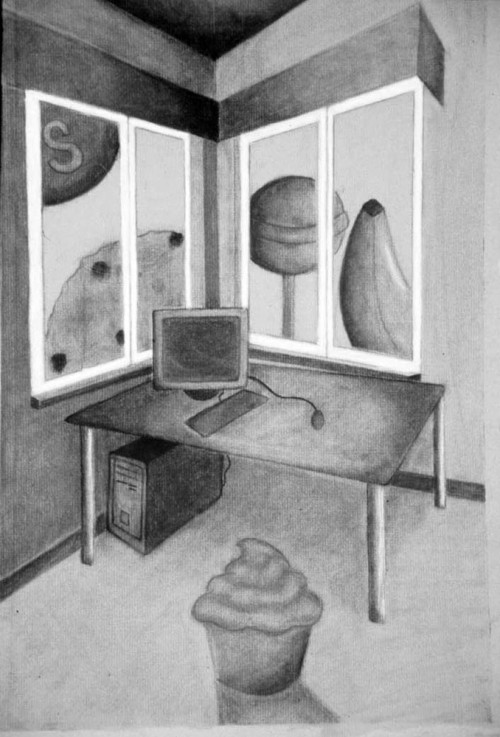
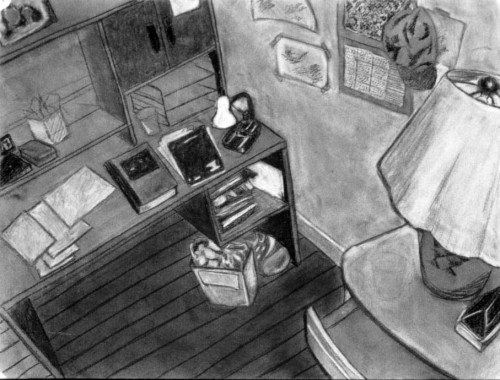
This isn’t easy and it takes a real understanding of how perspective works. First, you’ll need to figure out if your photo is in ONE OR TWO POINT perspective. I can help you with this, but the easiest way is to line up several rulers (or pencils or anything straight) along the horizontal receding lines in the photo, like the edge of the wall & ceiling. If they all line up with one point (which may be waaaaay off the edge of the paper), then it’s one point perspective. Or if they seem to be going in different directions, then it’s probably 2 point. BE SURE YOU KNOW WHICH YOU’RE DEALING WITH before you start your drawing!
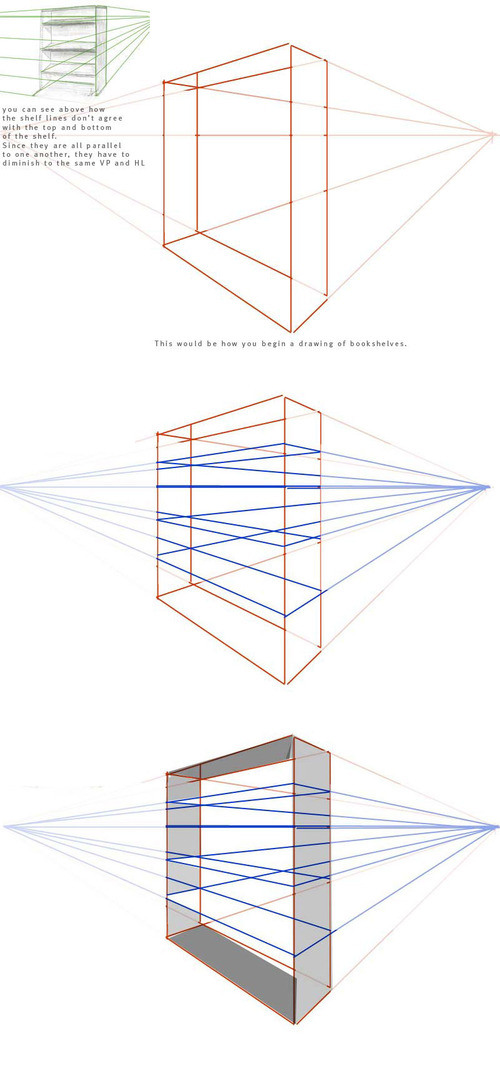
Below are some 2-point interior perspective samples- also simple, no surreal stuff… Just basic images that will help show you how to tackle 2-point perspective!
Bookshelves
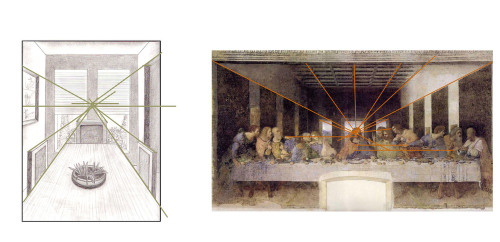
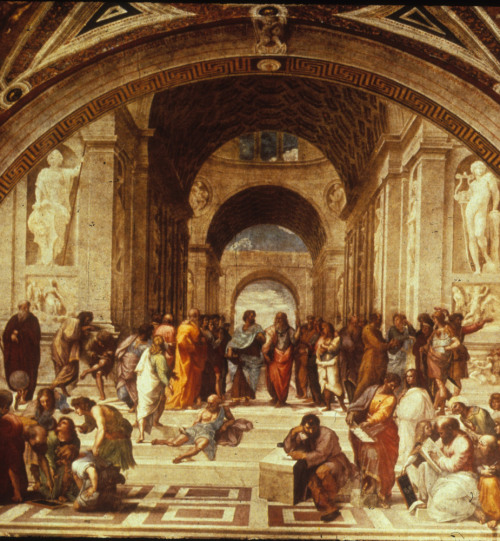
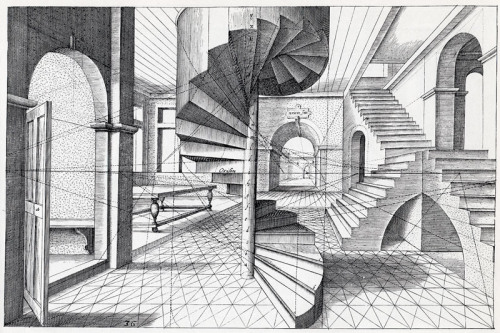
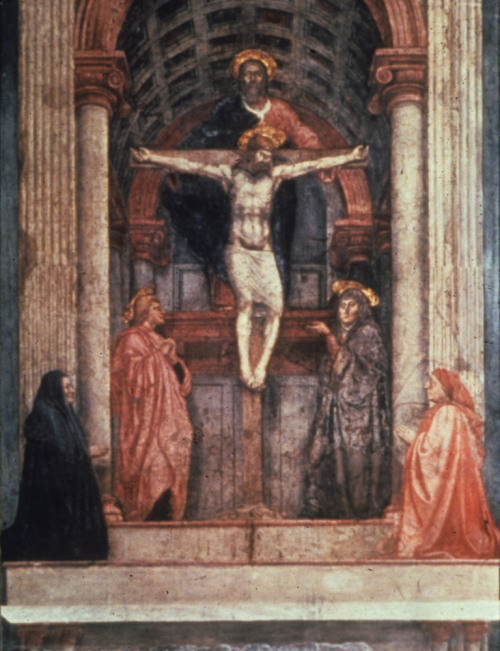
Some of the earliest and finest examples interior spaces using linear perspective. These examples also show you HOW to find the vanishing points in a photograph.
Interior_one_ptIp39Ip40Vredman_de_vriesIp41
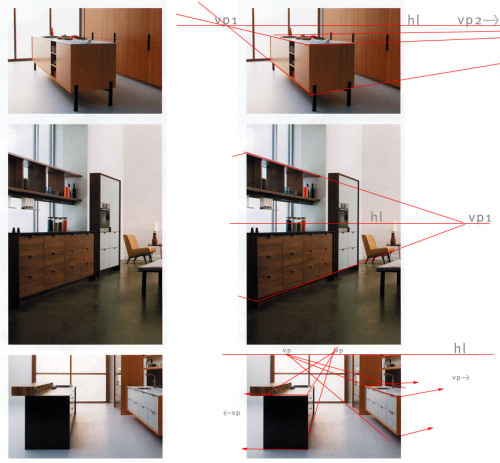
Here you can see how the vanishing points were found on a photo by lining up two or three lines going the same direction. I often do this using two rulers.
Vps_and_hls_interior
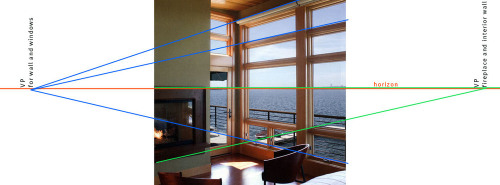
If you’re doing 2-point it’s often best if your vanishing points are FAR away from each other, even beyond the edge of the paper. Feel free to put them on the drawing board. Just be sure they’re level by using a yardstick to make a horizon line.
Horizonex2